
Hello again, today I am 'Sending Love' and sharing another crafty make with
you. This time I’m using a digital
download and printing it onto Papermilldirect Linen card to create a greeting card suitable
for Valentine’s Day or just to say hello to that special person in your life.
Now I haven't entered any Challenges for a long time but I saw the January Challenge over at LC Designs (a new name & branding for Little Claires) and thought I'd give it a try. The Challenge theme is 3,2,1 and so for my design I used 3 different colours of Card, 2 Words and 1 Digi Image. If you'd like to enter too, the link is here: http://www.littleclairesdesigns.blogspot.co.uk/2016/01/monthly-digi-stamp-challenge-13-3-2-1.html
The Digi Image is from LC Designs and is called ‘digi birds in squares’ and I printed it out onto A4 Ivory Linen
card from Papermilldirect. I set the
image to print and adjusted the size to give me 4 images to the A4 sheet. (I’m
only using 1 for this project but it’s handy to have extra if you wish to test
colours or think you may like to make a batch of cards)

Once the sheet was printed I left all the images intact on
the A4 and proceeded to colour the image using a selection of alcohol marker
pens from First Edition. I love to colour on linen card as I really like the
texture and look it gives to your projects.
After colouring I trimmed the image down to leave a border all around.

I added a few highlights using a white pen to the birds and
also used it to colour the dots on the hanging heart and the bird’s wings.

I adhered the image panel to a slightly larger piece of PMD
Post Box red card using double sided tape and trimmed to give a small red
border, then mounted again onto PMD Buff card to give a larger border.

For the sentiment panel I cut a piece of PMD Ivory Linen
card to measure approx. 5 1/8” wide x 5
5/8” high. Using a ‘Sending Love’ stamp
and black Archival ink I stamped the sentiment to the bottom of the card
towards the right hand side.

To create the card base I took an A4 sheet of PMD Post Box
Red card and scored it in half before trimming down to create a card base
measuring approx. 5 ½” wide by just over 6” high. I used double sided tape to adhere the
sentiment panel to the red card base.
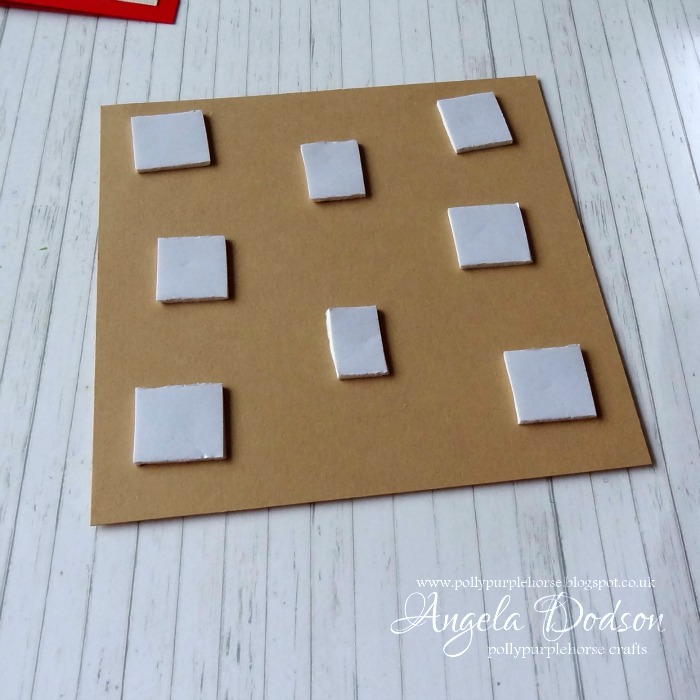
I added the coloured image panel to the card front using 3D
foam pads to give height and positioned it above the sentiment.

To finish I added a small red heart adhesive
gem to the end of the sentiment.

Digi stamps are an inexpensive way to create the look of
stamped images and are useful if you wish to create designs in different sizes
or if you are not confident or have dexterity problems with manually stamping. The image I chose to use is quite versatile
as you could also trim to use any of the 4 image squares in insolation or
combination as well as in smaller or larger sizes. If you are new to using your printer and /or
printing digital images, LC Designs (Little Claire’s) also have a couple of free images on their website
which are great for testing out if you are unsure.

Challenges Entered:
3,2,1 Challenge over on LC Designs Blog, link here:
3,2,1 Challenge over on LC Designs Blog, link here:
Materials Used:
White Pen – Pergamano
Black Archival Ink
Red heart adhesive gem
Double sided tape, 3D foam pads
No comments:
Post a Comment