This time I'm getting all Merry with a little festive pyramid box that would be great to pop little treats or gifts in and hang on the tree or pop on the table for Christmas dinner guests. (Materials List, Links and a quick 'how to' are at the bottom of this post)

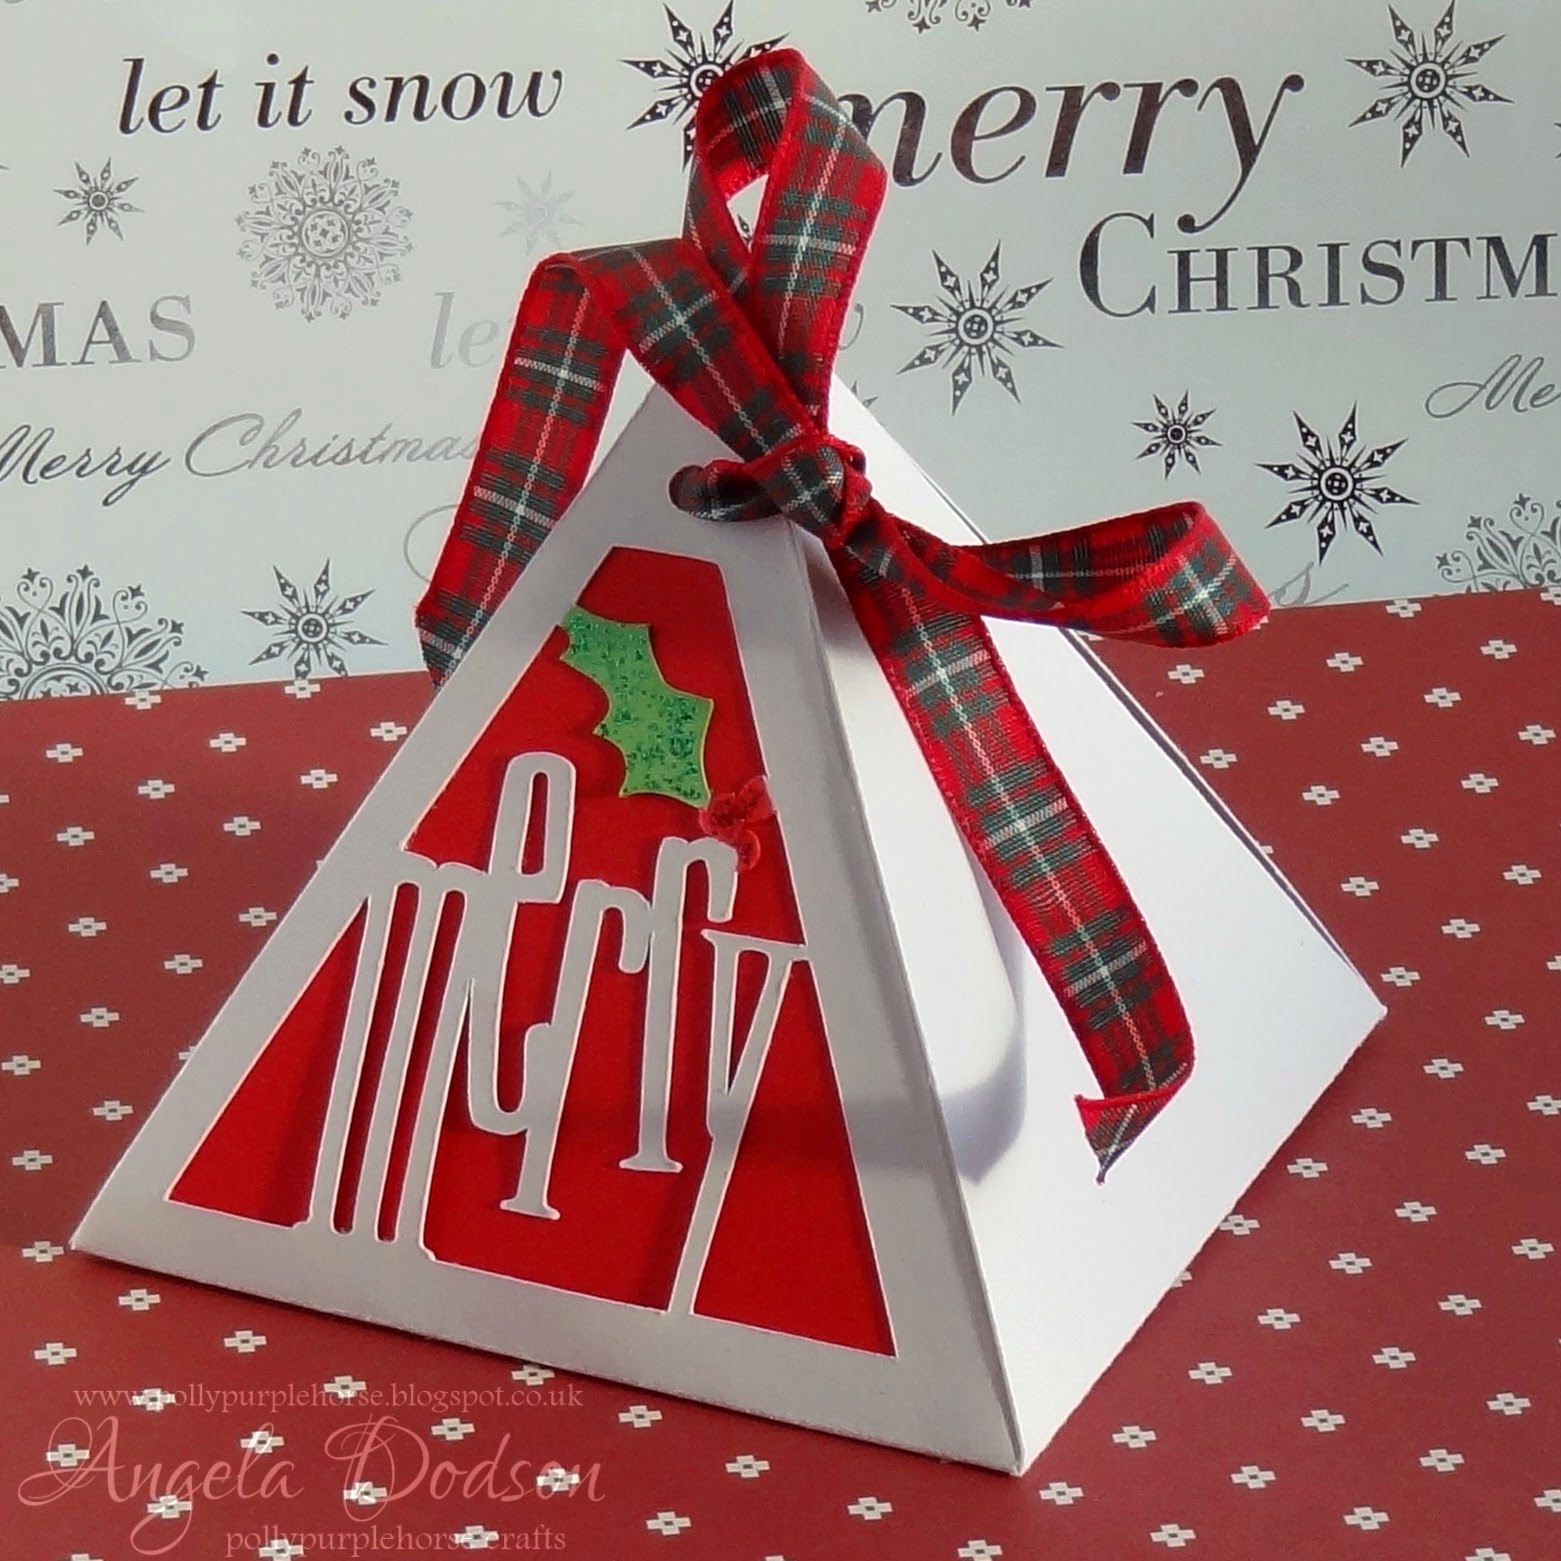
The Centre panel has been cut from lovely 'Post Box Red' card and the brightness helps to set off the jaunty 'Merry' sentiment. For the holly shape I first coloured in promarkers and then topped it off with green and red glitter glues to add a touch of sparkle.

I found a red & green tartan ribbon in my ribbon drawer and threaded it through the holes at the top of the pyramid shape tying it in a loose bow, so it can be easily opened to get to the treats inside.
Materials Used:
Warm White - Special Offer Card - Papermill Direct
Post Box Red card - Colours range - Papermill Direct
Promarkers in Red and Green, Glitter Glues in Red and Green, Tartan Ribbon
This project was created using a Cricut Explore and the Design Space Software, as follows:
In Design Space, search for the 'Fancy Boxes' Image set and locate the Merry pyramid box shape and insert image onto your screen mat.
You can resize the shape by using the resize tool at the bottom right corner of your image and pull it to desired size. (I often find it difficult to visualise the completed size of a box - so to make it easier for myself, I found (in Design Space) another image of a basic Square and inserted that onto the mat to use as a template to help me size the bottom of the pyramid box. I wanted the bottom to measure roughly between 3" to 3.5" square, so I sized the new square to those dimensions and then placed that over the pyramid box to guide me to the size to drag the pyramid box shape to (much simpler than I made it sound). When you have the right shape for your pyramid box then you can delete the extra square as it is not needed.
 |
| (Pic to help show the sizing on the Cricut Mat) |
Colour the holly with green and red pro-markers, adding some red and green glitter glue if desired. Thread your ribbon through the holes in the top sections of the box and gently pull together to close it, you may wish to tie your bow very loosely so it can be opened easily to put treats inside and get them out again :)
Challenges Entered:
Papermill Design Team:
if you have a moment, please do pop over and check out the other papermill teamies blogs and see what they got up to this week:
Barbara
Lisa
Sylvia
Sandie
Sharon
No comments:
Post a Comment