Waving hello and welcome to another +papermilldirect blog post. This week's Special offer is the super popular 'White Felt Embossed' card which is just £6 for a small box of approx. 80 sheets!! (Link here).
The Design Team are still working hard on Christmas projects and I have a new one to share with you too. (challenges, links, materials lists, etc at end of post).
This time I thought it would be nice to test out some new toys (spray inks from +oakhousestudio) and see what happens when used with Papermill's 'Plain White' card. This versatile card was put through it's paces to create this Christmas Bauble card.
First I embossed the background panel, then proceeded to cut and emboss the various elements to make the bauble design. The card base is also 'Plain White' card scored and folded, and then I gently swiped 'Pumpkin Pie' ink round the outer edge. More 'Pumpkin Pie', along with 'Tempting Teal', 'French Lavender' and 'Glorious Gold' was applied to the individual parts to layer the bauble. I used a mixture of swiping, spraying and painting with a paintbrush to bring out the design. I love the effect of the 'Glorious Gold' when sprayed, it gives a beautiful speckly sparkly effect (my apologies the pics here do not show up all the prettiness). I sprayed the background panel and also the die cut pieces with lots of gold ink to create shimmer.
The bauble design was layered up using 3D foam pads to give lots of depth and texture. I added a vintage gold coloured sheer ribbon to the top, tied in a bow, and faux pearls in different sizes to decorate.
My little crafty playtime ink testing turned into a completed project, and I do love how it turned out.
Materials
Used:
Plain White Card - Essentials Range - Papermill Direct
Glorious Gold, Pumpkin Pie, Tempting Teal, & French Lavender - Ink in a bottle Spray Inks - Oakhouse Studio
Ornament Set #657974 (embossing folders & Dies set) - Sizzix
Ribbon and Faux pearls from my craft cupboards
Challenges Entered:
(Sadly I was too late to enter the Oakhouse Studio Challenge)
But I am entering the Nostalgic Christmas Challenge over at http://countryviewchallenges.blogspot.co.uk/2014/12/decembers-festive-challenge.html
The theme is Nostalgic Christmas and not necessarily vintage, pop over and take a look at all the fab entries so far. I choose to make this card as the bauble design reminds me of christmasses past and some old glass ornaments that were my grandmother's, I still try and pop a couple on the tree each year but they are so fragile and break easily. The wording too conjures up a heartfelt sentiment.
Papermill Design Team:
if you have a moment, please do pop over and check out the other papermill teamies blogs and see what they got up to this week:
Barbara
Lisa
Sylvia
Sandie
Sharon
Monday, 8 December 2014
Friday, 5 December 2014
Botanical Notes...with Trimcraft
I was recently given some brand new paper collections to play with, and well, to be honest I couldn't stop oohing and ahhing over this one called 'Botanical Notes' it is from the premium 'First Edition' range by +Trimcraft Ltd and the designs, colours, patterns and finishes really wowed me. So much so that I spent a few days just stroking the pages of the pads before I could bring myself to take scissors to them!! I'm sure if you're a paper-crafter then you will understand. I almost had an 'I am not worthy' moment before pulling myself together and getting stuck in. :D
So what did I make first? I was immediately drawn to a rather beautiful floral pearlescent paper that made me think of silk, and I spied a bright gold foiled paper too. I do like to use black as a contrast and the minute I placed some black alongside these papers it almost created itself. I think this card has a bit of an Oriental feel about it and if you'd like to find out more then please do pop over to the Trimcraft Gallery where you will find a materials list and step-by-step instructions. (Link Here).
There is such a variety of papers in 'Botanical Notes' you can create varied looks. The paper pads come in 3 sizes 12x12, 8x8, and 6x6 something to suit all your paper-crafting needs. For my 2nd make I decided on a little notebook with a matching pencil.
I do like a little 'play on words' from time to time and the music note paper sort of went with the theme of 'Notes' and the birds, hopefully bringing the design together. Again if you would like to see more pics, including the inside, the materials list and also a step by step 'how to' to make your own notepad, then do please pop over to the Gallery (Link Here)
I have another project to share made with this collection, which I will post later this week. If you fancy WINNING the 'Botanical Notes' and the 'Sail Away' collections then do pop over and enter the Monthly Competition (Link Here).
If you want to check out all the projects created by the Design Team, then do check out the Official +Trimcraft Ltd Gallery (Link Here)
Thank you for stopping by and if you have any questions at all or just want to say hello, then please do post a comment :)
Wednesday, 3 December 2014
Getting Merry... with Papermill
Hello again, and as promised here is my 2nd make with the Special Offer 'Warm White' card from +papermilldirect (£6-77 for
a small box or why not treat yourself to the Midi box at £20).
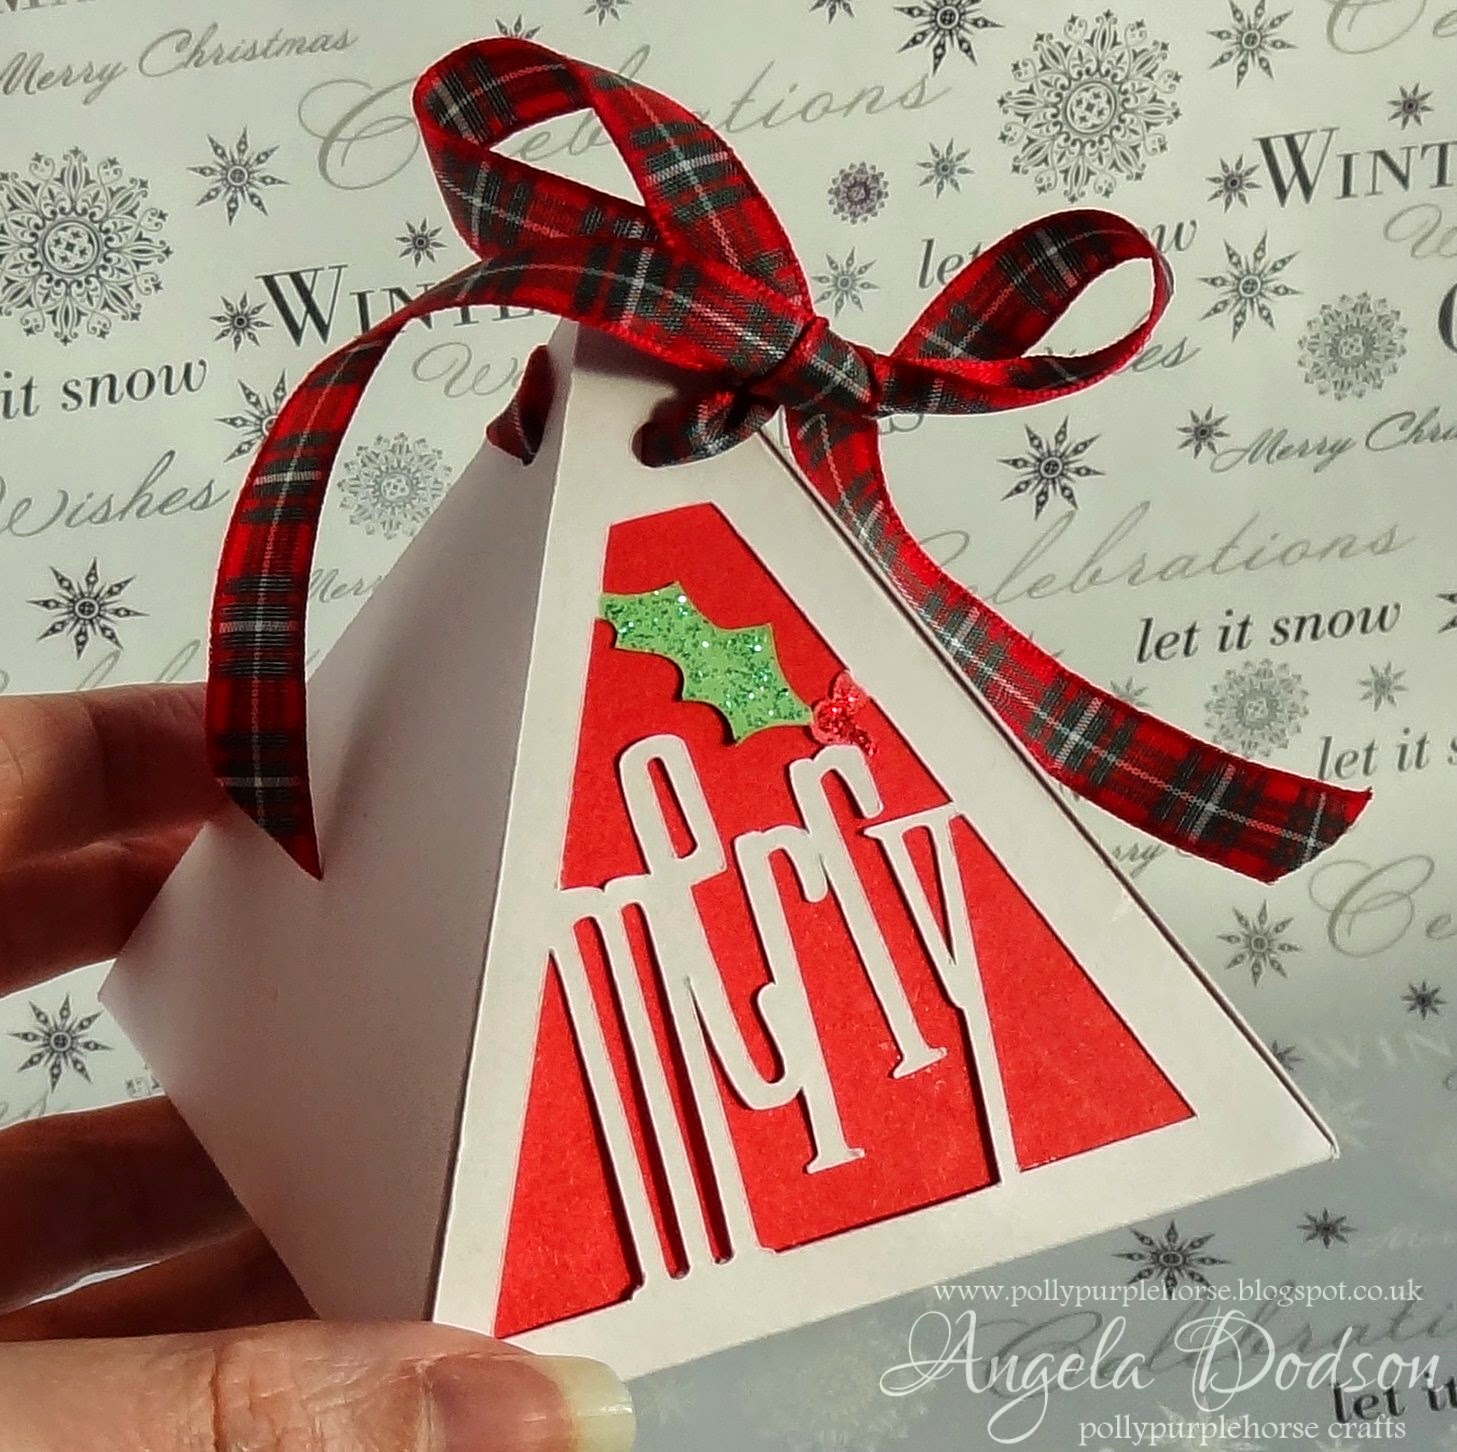
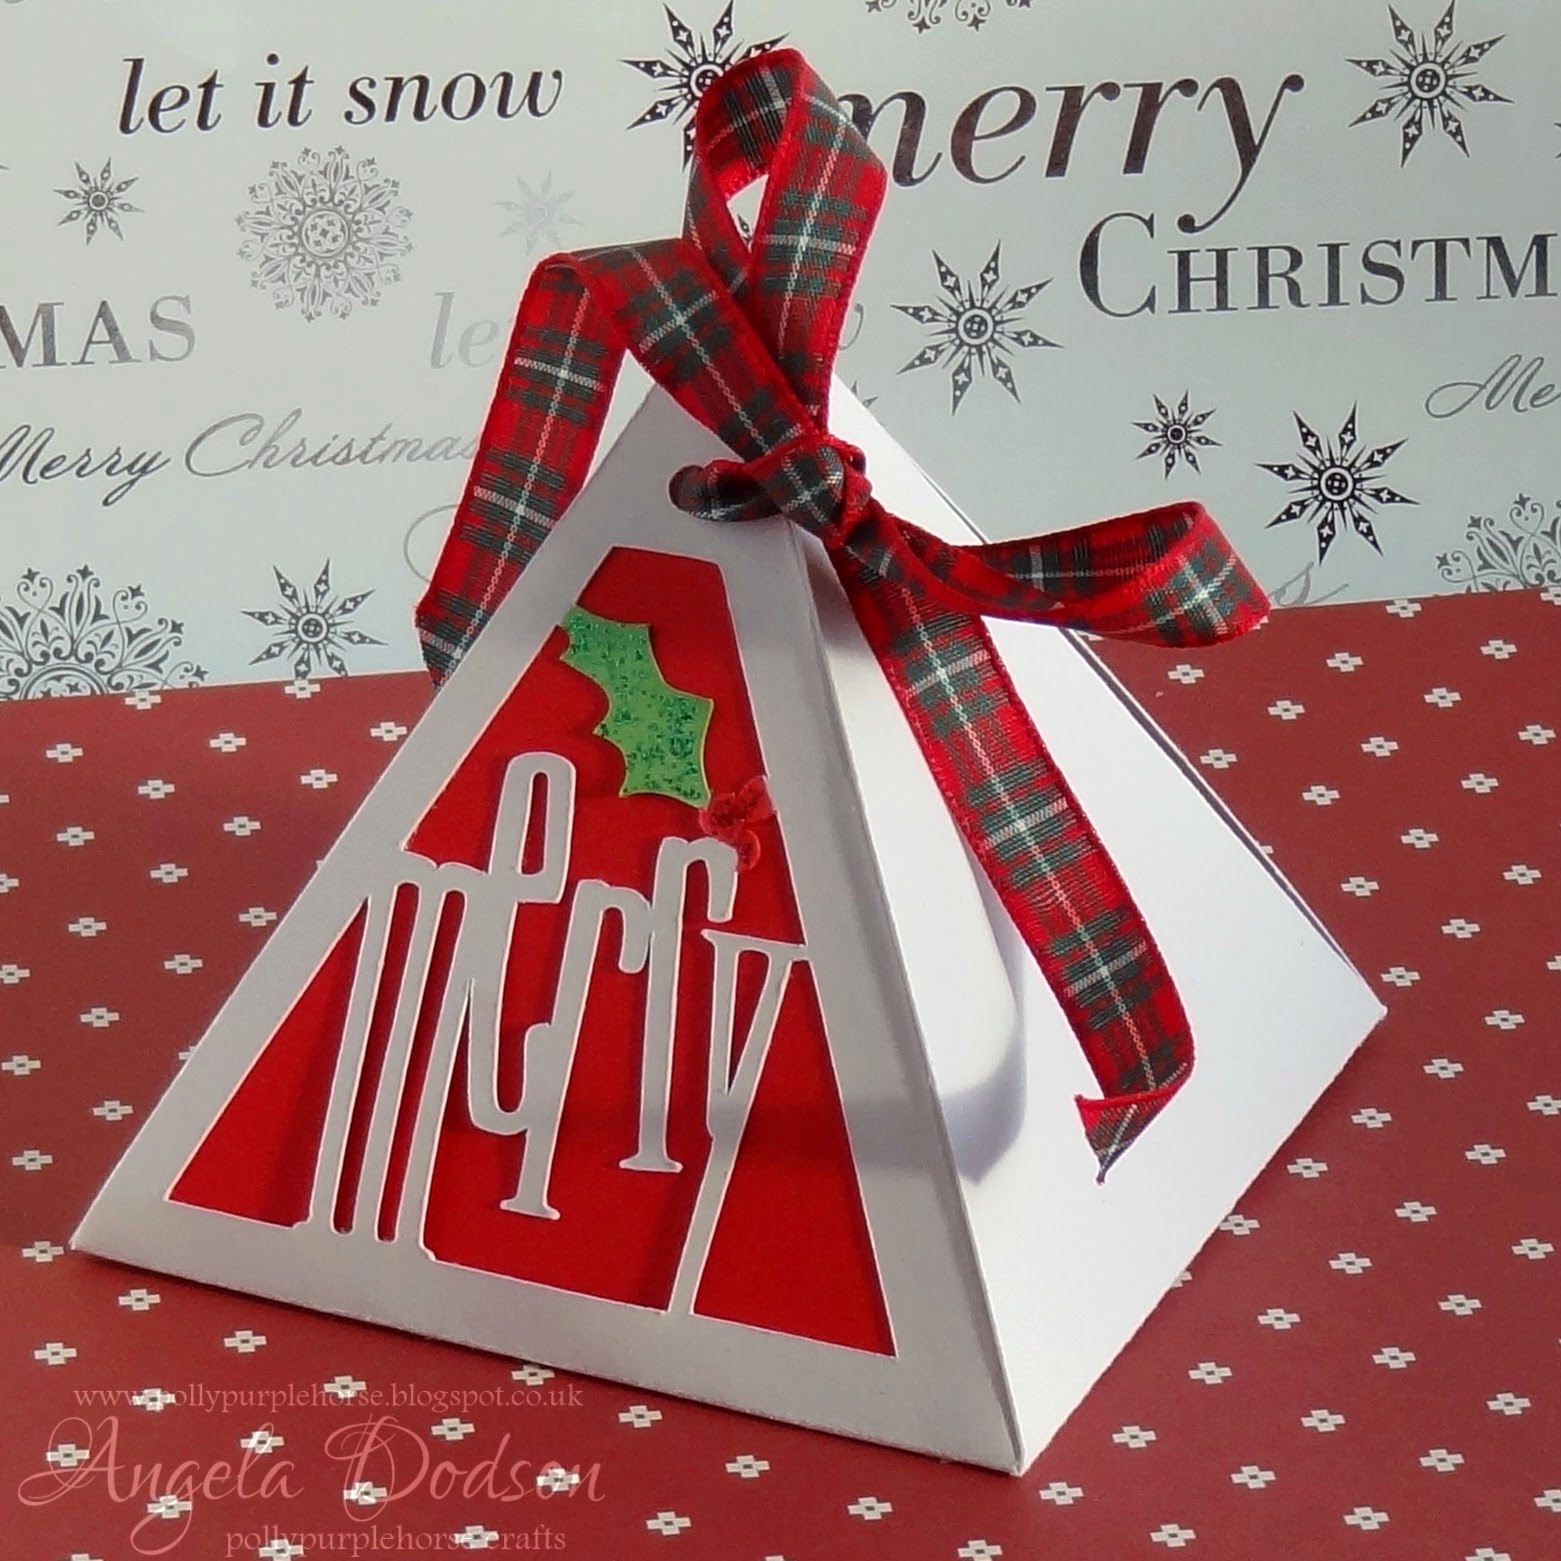
This time I'm getting all Merry with a little festive pyramid box that would be great to pop little treats or gifts in and hang on the tree or pop on the table for Christmas dinner guests. (Materials List, Links and a quick 'how to' are at the bottom of this post)
Using my Cricut Explore I used a design set called 'Fancy Boxes' and cut the Pyramid shaped box from Papermill's 'Warm White' card. This was the first time using the Cricut's scoring tool and it worked quite well on this 270gsm cardstock making the job of folding much easier.
The Centre panel has been cut from lovely 'Post Box Red' card and the brightness helps to set off the jaunty 'Merry' sentiment. For the holly shape I first coloured in promarkers and then topped it off with green and red glitter glues to add a touch of sparkle.

I found a red & green tartan ribbon in my ribbon drawer and threaded it through the holes at the top of the pyramid shape tying it in a loose bow, so it can be easily opened to get to the treats inside.
Materials Used:
Warm White - Special Offer Card - Papermill Direct
Post Box Red card - Colours range - Papermill Direct
Promarkers in Red and Green, Glitter Glues in Red and Green, Tartan Ribbon
In Design Space, search for the 'Fancy Boxes' Image set and locate the Merry pyramid box shape and insert image onto your screen mat.
You can resize the shape by using the resize tool at the bottom right corner of your image and pull it to desired size. (I often find it difficult to visualise the completed size of a box - so to make it easier for myself, I found (in Design Space) another image of a basic Square and inserted that onto the mat to use as a template to help me size the bottom of the pyramid box. I wanted the bottom to measure roughly between 3" to 3.5" square, so I sized the new square to those dimensions and then placed that over the pyramid box to guide me to the size to drag the pyramid box shape to (much simpler than I made it sound). When you have the right shape for your pyramid box then you can delete the extra square as it is not needed.
Then be sure to pop your scoring tool into your Explore so that it can cut and score at the same time. Once it's cut out, you can fold the box along the score lines. The extra panel (I cut in red card) is also in the Fancy Boxes design set and can be cut out or you could just cut a panel of card by hand to fit behind the 'merry sentiment'. Glue the red panel in place behind the front 'Merry'.
Colour the holly with green and red pro-markers, adding some red and green glitter glue if desired. Thread your ribbon through the holes in the top sections of the box and gently pull together to close it, you may wish to tie your bow very loosely so it can be opened easily to put treats inside and get them out again :)
Challenges Entered:
Papermill Design Team:
if you have a moment, please do pop over and check out the other papermill teamies blogs and see what they got up to this week:
Barbara
Lisa
Sylvia
Sandie
Sharon
This time I'm getting all Merry with a little festive pyramid box that would be great to pop little treats or gifts in and hang on the tree or pop on the table for Christmas dinner guests. (Materials List, Links and a quick 'how to' are at the bottom of this post)
Using my Cricut Explore I used a design set called 'Fancy Boxes' and cut the Pyramid shaped box from Papermill's 'Warm White' card. This was the first time using the Cricut's scoring tool and it worked quite well on this 270gsm cardstock making the job of folding much easier.
The Centre panel has been cut from lovely 'Post Box Red' card and the brightness helps to set off the jaunty 'Merry' sentiment. For the holly shape I first coloured in promarkers and then topped it off with green and red glitter glues to add a touch of sparkle.

I found a red & green tartan ribbon in my ribbon drawer and threaded it through the holes at the top of the pyramid shape tying it in a loose bow, so it can be easily opened to get to the treats inside.
Materials Used:
Warm White - Special Offer Card - Papermill Direct
Post Box Red card - Colours range - Papermill Direct
Promarkers in Red and Green, Glitter Glues in Red and Green, Tartan Ribbon
This project was created using a Cricut Explore and the Design Space Software, as follows:
In Design Space, search for the 'Fancy Boxes' Image set and locate the Merry pyramid box shape and insert image onto your screen mat.
You can resize the shape by using the resize tool at the bottom right corner of your image and pull it to desired size. (I often find it difficult to visualise the completed size of a box - so to make it easier for myself, I found (in Design Space) another image of a basic Square and inserted that onto the mat to use as a template to help me size the bottom of the pyramid box. I wanted the bottom to measure roughly between 3" to 3.5" square, so I sized the new square to those dimensions and then placed that over the pyramid box to guide me to the size to drag the pyramid box shape to (much simpler than I made it sound). When you have the right shape for your pyramid box then you can delete the extra square as it is not needed.
 |
| (Pic to help show the sizing on the Cricut Mat) |
Colour the holly with green and red pro-markers, adding some red and green glitter glue if desired. Thread your ribbon through the holes in the top sections of the box and gently pull together to close it, you may wish to tie your bow very loosely so it can be opened easily to put treats inside and get them out again :)
Challenges Entered:
Papermill Design Team:
if you have a moment, please do pop over and check out the other papermill teamies blogs and see what they got up to this week:
Barbara
Lisa
Sylvia
Sandie
Sharon
Tuesday, 2 December 2014
Merry Kissmas!! ...with Papermill
Gosh it's December already, where did my year go? feels like Christmas is really coming up fast now, but there is still time to make those projects and cards and +papermilldirect have lots of goodies on their Special Offers page including a new one for this week, it is a gorgeous 270gsm Warm White card at just £6-77 for a small box or why not treat yourself to the Midi box at £20?
I have 2 makes to share with you this week, both using this week's Special Offer 'Warm White' cardstock, and I will share one tomorrow too, but first up is a simple design based around a theme of mistletoe and kisses.
Materials Used:
Warm White - Special Offer Card - Papermill Direct
Navy Blue, Apple Green, & Post Box Red card - Colours range - Papermill Direct
Liquid Pearls, Cricut Metallic Marker Pen in ' Metallic Copper'
Challenges Entered:
Papermill Design Team:
if you have a moment, please do pop over and check out the other papermill teamies blogs and see what they got up to this week:
Barbara
Lisa
Sylvia
Sandie
Sharon
I have 2 makes to share with you this week, both using this week's Special Offer 'Warm White' cardstock, and I will share one tomorrow too, but first up is a simple design based around a theme of mistletoe and kisses.
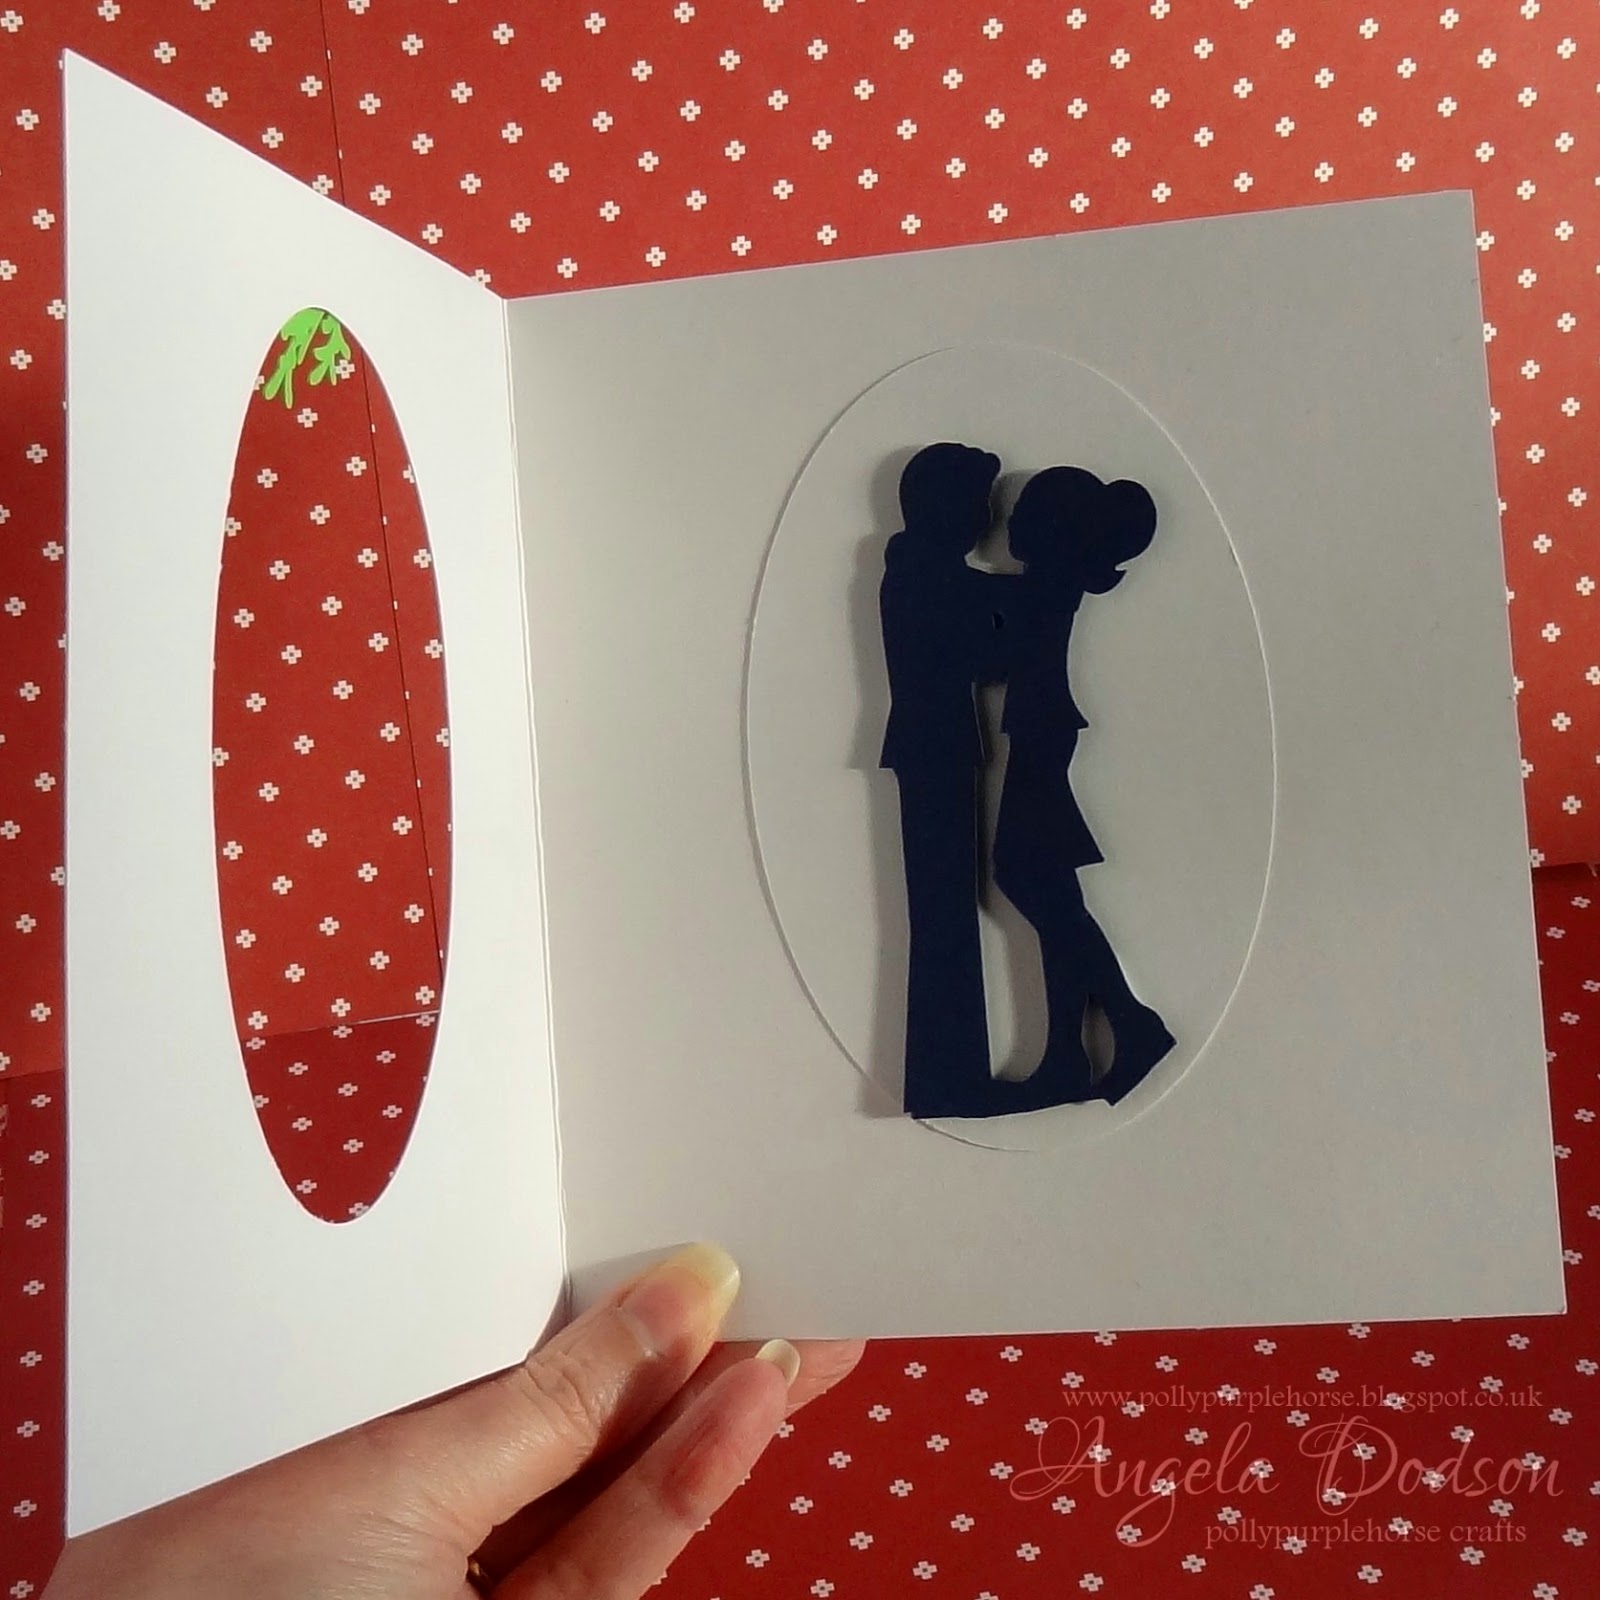
I used my Cricut Explore to design this card and created an oval aperture card from the 'Warm White' offer card. The silhouette of the couple embracing was cut
from Navy Blue card and positioned inside aperture, (I sat it on the oval that was cut from the card front).
I cut Mistletoe shapes using 'Apple Green' and 'Post Box Red' Papermill card and attached to the
front just above the aperture. Liquid Pearls provide the berries.
The sentiment 'Merry Kissmas' was also designed and written with the Cricut Explore using a Cricut pen in 'Metallic Copper'.
I think the Papermill 'Warm White' card worked really well for this project especially using Navy Blue rather than black for the couple. I could have embellished further but I really like the simple styling and think it works well with the theme.
Materials Used:
Warm White - Special Offer Card - Papermill Direct
Navy Blue, Apple Green, & Post Box Red card - Colours range - Papermill Direct
Liquid Pearls, Cricut Metallic Marker Pen in ' Metallic Copper'
Challenges Entered:
Papermill Design Team:
if you have a moment, please do pop over and check out the other papermill teamies blogs and see what they got up to this week:
Barbara
Lisa
Sylvia
Sandie
Sharon
Subscribe to:
Comments (Atom)


